Movie Maker

Creation and editing

Using a movie maker - video editor for your next video

A movie maker helps shape an idea into a video; a video editor helps refine footage you already have. Start by deciding whether you need to create scenes, arrange existing clips, or do both. That choice makes it easier to write a useful brief and choose the right workflow.

Review available options after opening
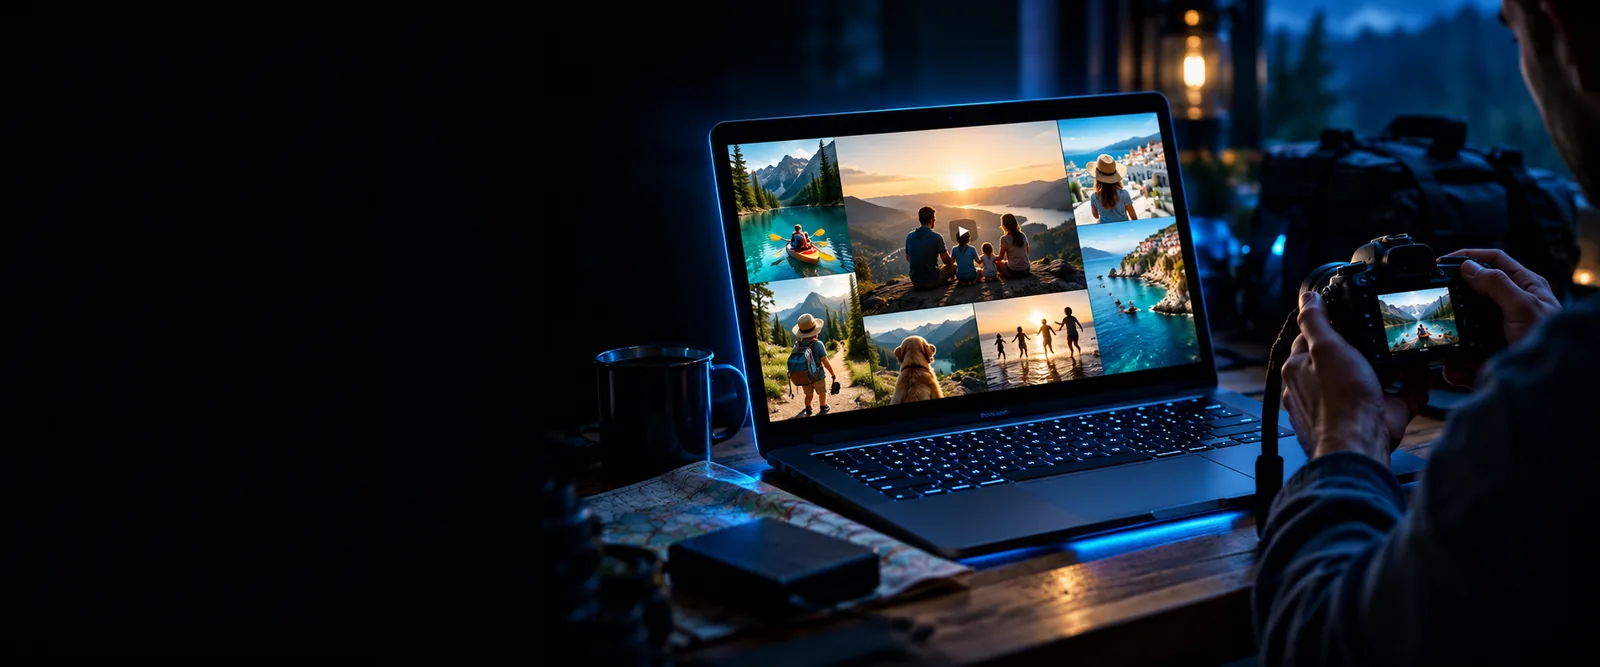
Movie Maker landing-page visual

Choose the workflow that fits your footage

The difference matters most at the starting line: do you have clips to refine, or a story that still needs visuals?

The first-time creator

You have an idea and a few phone clips but no clear sequence. A movie maker brief can establish a beginning, middle, and ending before you spend time polishing cuts.

Draft a short outline, then use a video editor for timing and transitions if your chosen tool supports them.

movie maker tutorial for beginners

The desktop editor

Your recordings are already on a PC, and you need to sort them into a watchable order. Start with the strongest shot rather than importing everything without a plan.

Keep a list of the clips, captions, and audio you need before selecting an editing application.

how to use movie maker on pc

The channel creator

You need a recognizable opening, a clear main point, and an ending that fits the video. Make those beats explicit in the brief.

Compare example structures before choosing whether to generate new material or edit recorded footage.

youtube movie maker examples

The Windows user

You remember an older Movie Maker interface and expect familiar timeline controls. Check the application name and version before following any instructions.

Choose a workflow based on the software actually installed on your computer.

windows movie maker windows 11

Three steps from brief to finished cut

A useful movie maker workflow separates story decisions from hands-on editing. That keeps the video editor focused on changes you can see and hear.

  1. 1

    Write the viewing goal

    Name the audience, intended length, and one thing viewers should remember. For a product introduction, that might mean showing the problem, the product in use, and a final takeaway. This brief is your test for whether each scene belongs.

  2. 2

    Map scenes to available material

    List the shots you already have and mark gaps that need new visuals, narration, or text. A movie maker may help you explore a scene concept; a conventional video editor is where you typically inspect recorded clips and decide their order.

  3. 3

    Review the cut as a viewer

    Watch without stopping. Note confusing jumps, text that disappears too quickly, and audio that distracts from the message. Revise the brief or the edit according to the problem; adding effects will not fix an unclear story.

Limits and edges to check first

The words movie maker and video editor are often used together, but they do not guarantee the same controls or outputs.

  • A prompt is not a timeline

    Describing a scene does not guarantee frame-by-frame control over recorded footage. This page cannot trim, splice, or export a clip for you.

    WorkaroundIf you need precise cuts, confirm that the application you open includes a timeline and supports your source files.

  • Generated visuals may not match your footage

    A written description cannot guarantee consistent faces, products, locations, or motion across scenes. Review any result before using it as part of a larger edit.

    WorkaroundKeep reference notes for each scene and use recorded footage when exact visual continuity matters.

  • Tool capabilities vary

    The destination reached through this page is separate from older Windows Movie Maker applications. Do not assume it offers their menus, project files, or keyboard shortcuts.

    WorkaroundCheck the destination's current features and supported inputs before committing to a project.

  • The final delivery still needs a check

    A video can look right in a preview yet have unreadable captions or unsuitable framing on the device where people will watch it.

    WorkaroundPlay the finished file on its intended screen and inspect text, sound, and cropping.

Adapt the brief to your starting point

A video editor solves a different immediate problem for each creator. Pick the panel that describes the material you have today.

Begin with a scene outline

Write what happens in each scene before specifying effects. A movie maker brief is more useful when it names visible action, setting, mood, and the transition in meaning from one moment to the next.

  • Identify the opening image.
  • Give each scene one job.
  • End with a clear takeaway.

Organize before you trim

Watch every clip and label the strongest moments. Then arrange a rough sequence without worrying about polish. In a video editor, removing repetition usually does more for clarity than adding another transition.

  • Separate essential shots from alternatives.
  • Check speech and background sound.
  • Cut for meaning before cutting for pace.

Mark what must stay consistent

When you combine recorded and newly created visuals, compare lighting, perspective, and subject details across scenes. Treat the story outline as the common reference, then inspect the assembled video for distracting changes.

  • Note which shots are recorded.
  • Describe any missing scenes precisely.
  • Review the complete sequence together.

If you have settled on your starting material, these guides narrow down the platform, workflow, or application question.

Turn the outline into a starting brief

Begin with the story you want viewers to see

You do not need to settle every editing decision at once. Describe the audience, opening shot, essential scenes, and intended ending, then inspect the available creation options. If your project depends on trimming existing footage, verify those editing controls before moving your material.

Explore video creation
  • State the audience and purpose
  • List the scenes you need
  • Check the result against your brief

FAQ

Movie maker is a broad description for tools and workflows used to create a video. A video editor more specifically refers to arranging and changing video or audio material. Product names can blur that distinction, so check the actual controls before choosing a tool.

You can use a story brief to decide which recorded clips belong in the video and what order makes sense. Whether a particular tool can import, trim, and export those clips depends on its current features. Check supported inputs before moving a project.

Review the scenes together rather than judging each one alone. You may find that timing, sound, text, or visual continuity needs attention. The amount of editing required depends on the result and where you intend to show it.

No. Movie Maker is used here as a general creation term, not as a promise of the older Windows application's interface or project compatibility. If you need instructions for that specific software, identify your installed version first.

Create a movie
Create a movie