Create in your browser
Start your next video with a movie maker online
A movie maker online gives you a place to begin without committing to a complicated editing plan. Describe the story you want to tell, then decide which footage, images, and words will help tell it. Movie Maker can help you think through that starting point before you continue to the video tool.
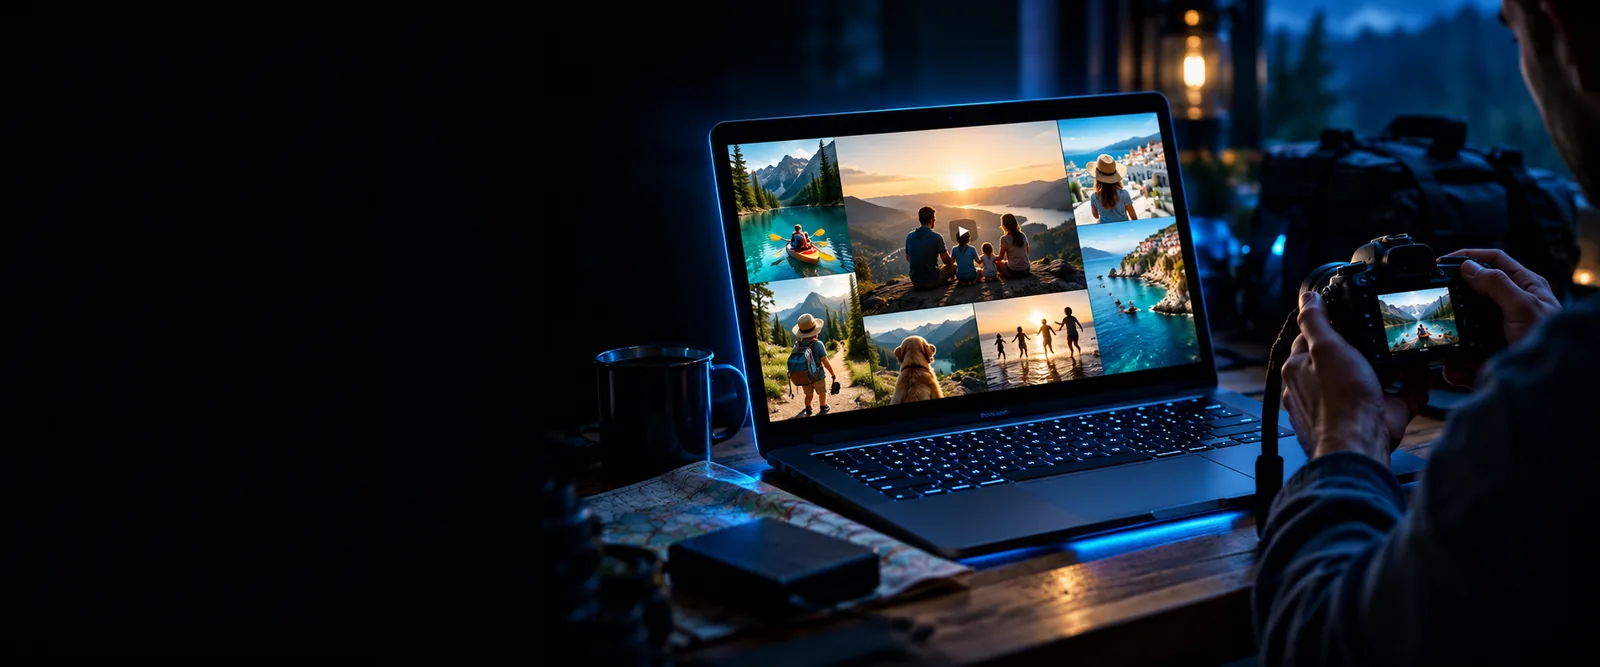
Three moves that shape a video
Gather the material, choose an order, and review the result as one story. The images illustrate that change in focus; they are not a promised output.
- Material to arrange
- Story to communicate
First, collect only the clips and images that serve your subject; extra material can wait. Next, give the viewer a beginning, a few clear moments, and an ending. Finally, watch the sequence from the viewer’s perspective: can they tell what changed, and does each shot stay on screen long enough to understand it? This comparison is a planning illustration, not a before-and-after sample generated from the pictured source.
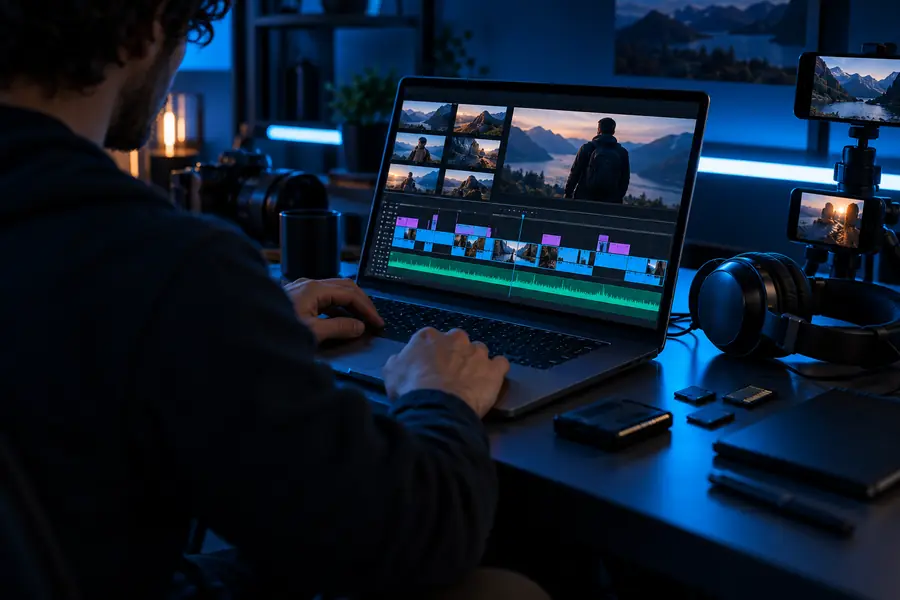
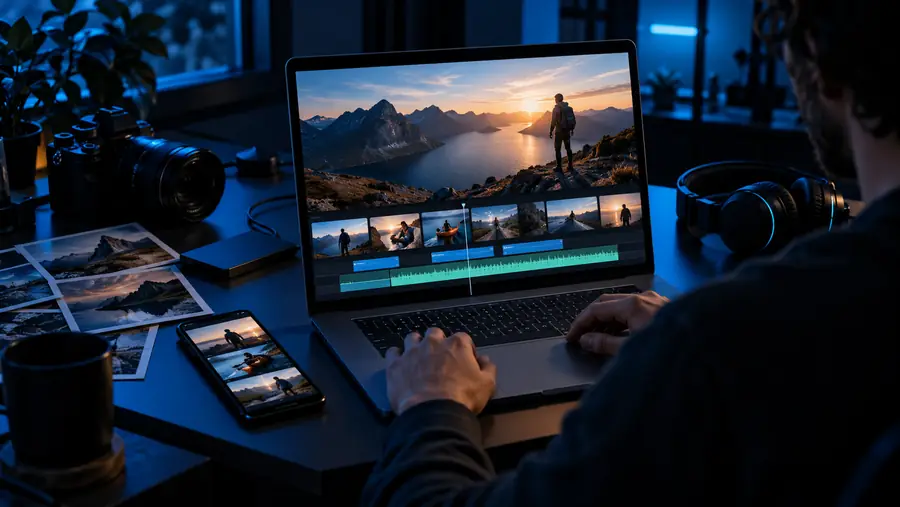
A step-by-step editing plan
Use the left column to prepare your story. Use the right column to check what the editor you choose actually supports; browser-based tools do not all work alike.
What to plan
What to check in the tool
1. Purpose
What to plan
Write one sentence describing who the video is for and what they should remember.
What to check in the tool
Check whether the workspace suits your intended project, rather than assuming every editor handles the same kind of video.
2. Material
What to plan
List the clips, photos, text, or narration you expect to use. Set aside anything you do not have permission to include.
What to check in the tool
Check accepted inputs and upload requirements before preparing files for a particular editor.
3. Opening
What to plan
Choose a first image or line that establishes the subject immediately.
What to check in the tool
Preview how that opening looks on the screen size your audience is likely to use.
4. Sequence
What to plan
Put the strongest moments in an order that a new viewer can follow without background knowledge.
What to check in the tool
Check the available arrangement and trimming controls before relying on a detailed edit.
5. Sound and text
What to plan
Draft any captions or voiceover, and decide whether music would support or distract from the story.
What to check in the tool
Verify the tool’s audio and text options, and confirm that you have rights to any music you add.
6. Final review
What to plan
Watch from start to finish, then remove repetition and correct unclear wording.
What to check in the tool
Check the available export settings and review the finished file before sharing it.
Limits and edges worth checking
Online describes where you begin, not a universal set of capabilities. Confirm these practical details in the tool you choose before investing time in a project.
-
A clear idea of the video’s audience and main message
RequiredA short sentence is enough to guide the first edit.
-
Permission to use any footage, photos, voices, and music you include
RequiredBeing able to upload a file does not grant permission to publish it.
-
An internet connection suitable for the files you intend to work with
RequiredLarge source files may take longer to transfer.
-
Confirmation of supported inputs and output options
RequiredFormats, limits, and export choices depend on the destination tool.
-
A short draft of captions or narration
OptionalPrepare one if the story needs context that the visuals cannot provide alone.
Frequently asked questions
It provides a way to work on a video through a web-based experience rather than treating the project solely as a desktop editing task. The exact creation, editing, and export options depend on the tool, so check its current capabilities against your project.
Many video workflows start with a mix of photos and clips, but support for particular file types is tool-specific. Decide on your sequence first, then verify accepted inputs before preparing or uploading everything.
You can begin with a simple outline: an opening, the main moments, and an ending. Review one complete version before refining timing, sound, or text; that makes individual editing decisions easier to judge.
That depends on the editor’s current project and file limits, as well as your connection and source material. For a longer piece, test a small section and check the available export options before building the entire sequence.